 Haiku finished and worn:
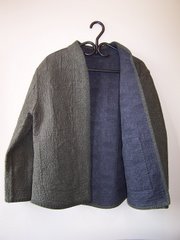
I wore my Haiku II jacket to a play tonight, and was complimented. I still think it's too big, and may try a size smaller if I do it again. It was not included in my list of Unfinished Objects, because I had completed it just before starting this blog. There were a few details needing work, and I spent a couple of hours this afternoon tending to that. I've added a few pictures of this garment, if I can get them to fit on the left side of this text, it will be a miracle.
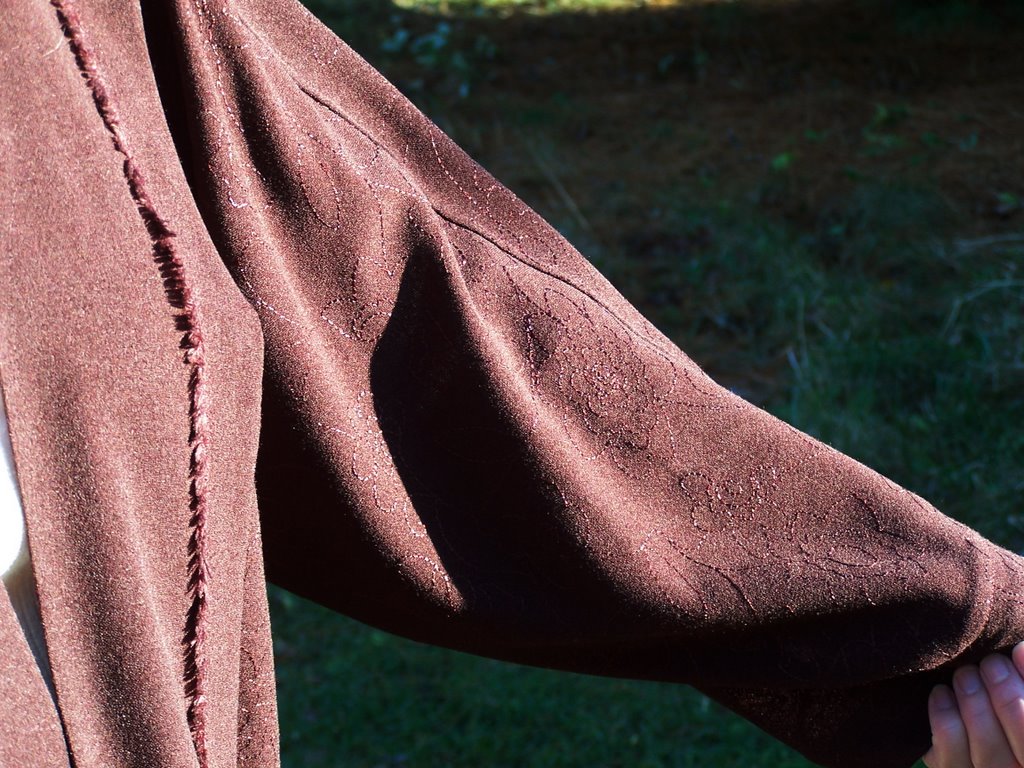
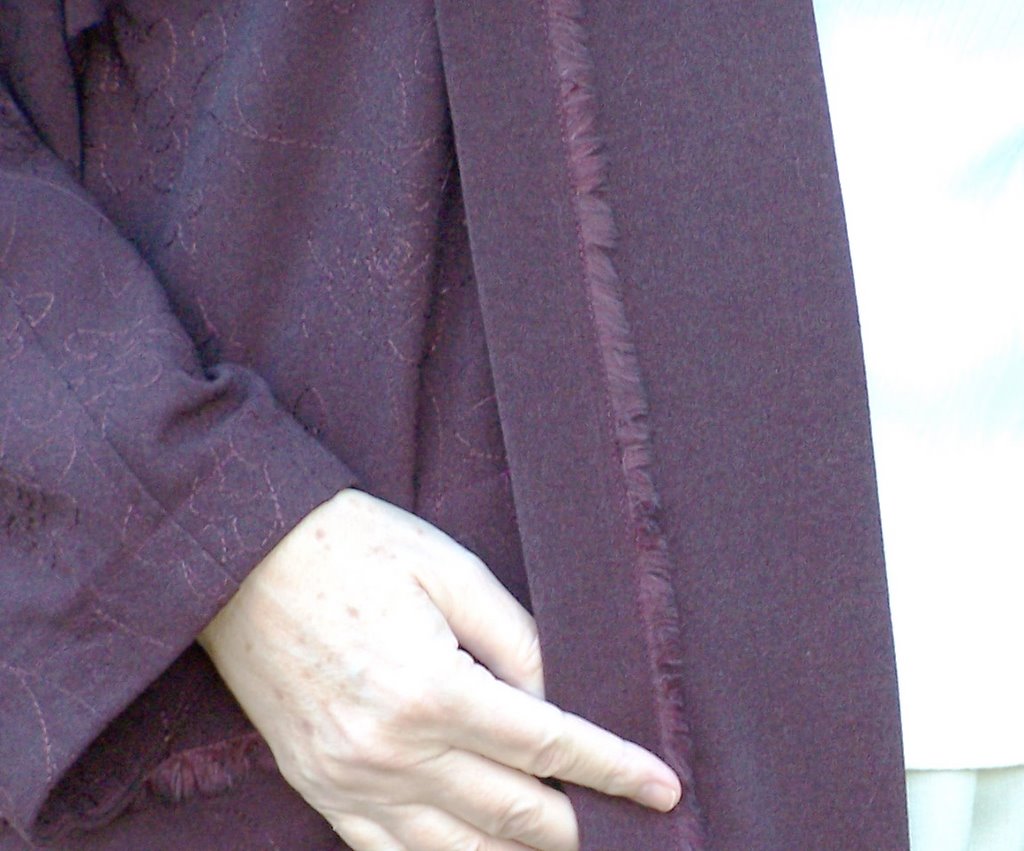 What was involved was the result of the fabric I chose. The fabric was an embroidered wool/poly blend - mostly poly by the way it behaved. Because the jacket panels show the reverse of the fabric, the embroidery was obviously the 'wrong' side. Therefore, to keep the panels clear and neat, I picked out all the embroidered flowers from the panels, leaving a nice contrast to the rest of the jacket. The color is a dark plum. Sun vs. shade makes a big difference in the color in the photos. I guess I should be more careful in future to make things match better.
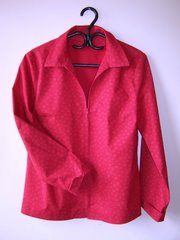
Progress with the black zippered shirt.
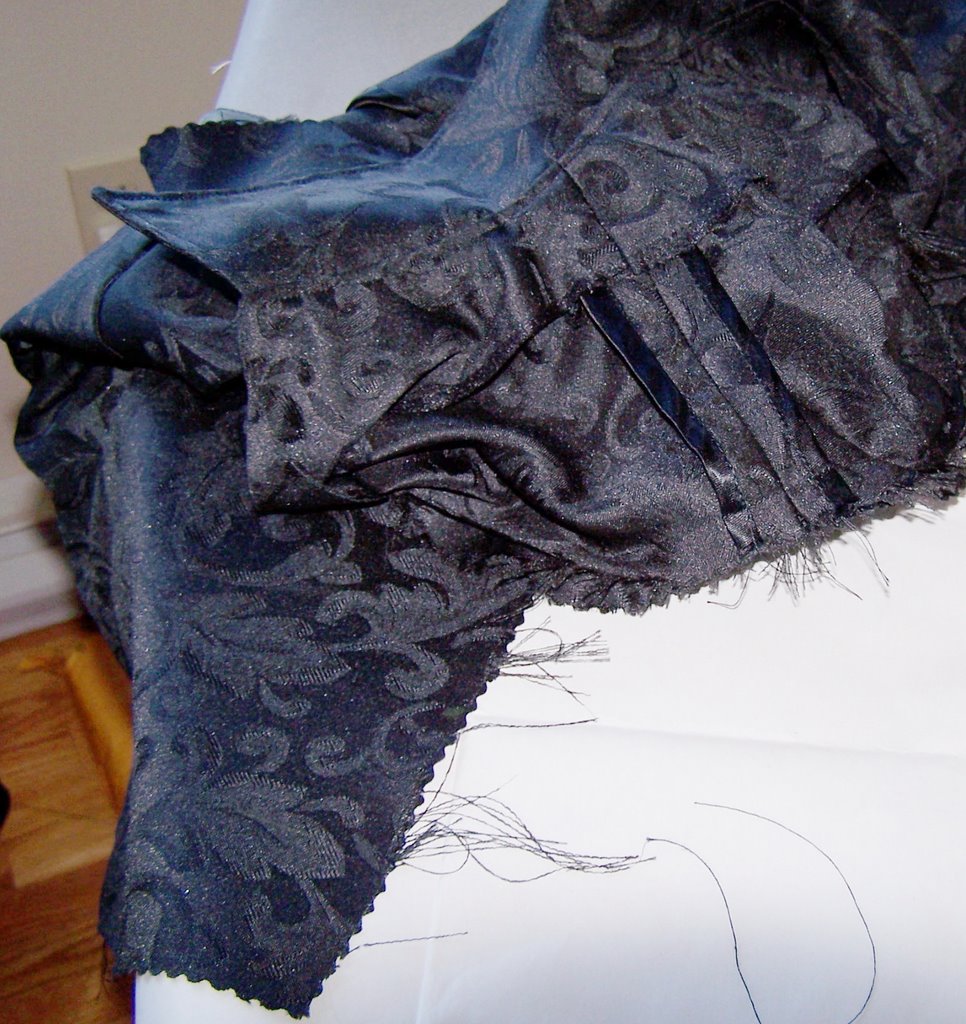
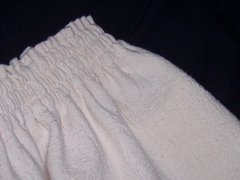
The picture below illustrates why I hate polyester. Note the shoulder seams with their nice Hong Kong finish. There is a great satisfaction in taming these monstrous frazzles.
This pattern definitely needs an adjustment to the zipper instructions. It is a front closing covered separating zipper which is supposed to be installed in each side separately, between the front and the facing. All this with nothing sewn down first. Most zipper applications (except invisible) require the seam to be basted until the zipper is in place. With this one, you magically attach it behind the folded-under front seam allowance, then fold the facing seam allowance under and sandwich everything together. The facings and the fronts are attached except for the zipper opening, which flaps open begging your undivided attention. Great if you have a nice crisp fabric that will press in place and stay there. BUT, you will recall that we are working with antagonistic polyester here! I think I might write a Pattern Review for this once I make it the second time. There does not seem to be a review as yet on the PR website.
 I finally got the zippers all basted and lined up, but next time I would totally revise the method. I would also use some Steam-a-Seam, and I would BASTE more. Did I say I would BASTE more? For 5 minutes of not bothering to baste, I wasted over an hour taking out stitches of black on black, sewn through 4 layers and a zipper tape. That was the biggest lesson for today: Take the time to baste, to change to the right presser foot, to double check, to not think there is an easier way.
After getting the zipper in, and the topstitching done around the collar and the fronts, I tackled the sleeves, and properly put in the 2 rows of basting. One sleeve is successfully installed, and the other awaits a fresher morning mind. It remains to be seen whether my "easier way" decision to do the sleeves before the side seams comes back to haunt me. A respected seamstress suggested this method, and it certainly seems a bit easier, but it may not turn out that way in the long run.
A try-on at this point, with only one side seam pinned, suggests I will need to take in the side seams in the back, which means that my shirt is effectively size 14 throughout, except for the front side seams. It also means I may just have to use a size 14 pattern throughout, and do a FBA instead of using the size 16 side seam measurements. I think this style might look good with some back darts, but I probably won't bother doing that this time around.
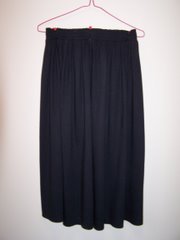
SWAP Cogitation
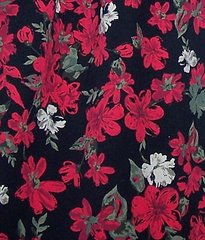
The SWAP collection is undergoing yet another rewrite. I think I will have to forego my print skirt until Phase II, where all things don't have to match everything. If I only have green, black and ecru bottoms, I think I can find something to better coordinate with the greens, shades of ivory which will look great with the red jacket, as well as the green and black. Perhaps there will even be a shade of blue or a green print that will pop up. I just have no natural color sense so I am finding this part of the planning very hard. There is some great insight on the forum. I have to keep this in perspective, and not make it into something difficult. So far, its been really fun, but I want to start making things, and the rules say you have to have the plan in place first. All for your own good of course, so you won't box yourself into a corner.


No comments:
Post a Comment