 (edited April 7)
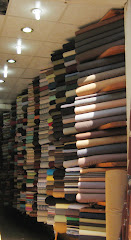
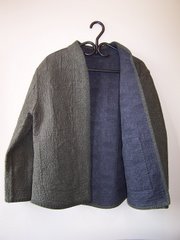
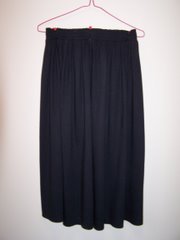
It's been an interesting day. I decided to put frogs on my stippled jacket, but locally there were only 3 useable frogs in the entire city. (I'll admit to being a little fussy.)
Good Friday being a day for meditative pursuits, I chose the quiet and refreshing activity of inventing how to make frogs. I had a magazine article, and a couple of online links, but I could not find the frogs I wanted.
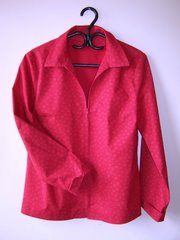
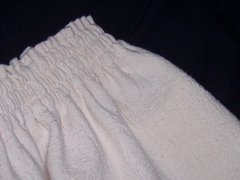
Below you will see the penultimate steps to Creating the "button" side of the frogs. Above, I have shown a more civilized presentation of the loop end. With luck, more details will follow if Photoshop agrees to cooperate.
 Here's what I did, briefly. You will need to determine the measurements based upon your application.
1. Make 2 side-by side coils.
Light cording, ironed flat, and melted with a candle at both ends to seal, (6.5" long after sealing. Mark with a long pin in the middle and tightly coil one end to the pin. Stick the pin horizontally through all the layers of cording, and coil the other end in the opposite direction- like a sideways S. When it meets the first coil, take out the pin and put it through the whole shebang.)
2. Steam-a-Seam the back to hold everything in place. This is not absolutely necessary, but helps with the first few until you get the feel of how everything goes together. A whole lot of pins will accomplish the same thing.
3. Make the 3rd coil and the knot. One side of the frog gets a knot, the other gets a loop. For my application, the distance from the edge of the frog to end end of the knot is 5/8". It is necessary to check these measurements against the garment to be sure things end up where you want them.
Use a piece of cording about 13" long. Tie a bulky knot a couple of inches from the end. Measure 5/8" from the knot on the long end and mark with a pin. Measure 3.25" from the pin, cut and seal the end. Coil from the end to the pin. Insert the pin through all the layers of cording.
4. Make the 3rd coil and the loop.
Use a 7" piece of cord. Seal one end and measure 3.25" and place a pin. Coil the sealed end to the pin, and place the pin through the coil as previously. Fold the remaining end into a loop of the required length, ending where the pin is inserted. Carefully remove the pin, and replace it to include the outer side of the loop.
5.Sew the 2 parts together - Ball Side.
Using matching thread, sew randomly through the double coil to secure it, especially at the center where the 2 coils join. Similarly secure the single coil, then center the single coil beside the other two, with the ball string sandwiched between. Stitch the 3 coils together. Fold the loose end of the ball string to the back and stitch the two strands together so they lie flat. Fasten the string at the back near the middle of the top coil. Use a bit of Fray-Check if you think it's necessary.
Loop Side - see picture at the top.
Proceed as above. Pin the loop coil to the other coils and secure the tail end at the back of the frog, ending in the middle of the upper coil as above. Be sure to test the loop length before making the whole set of frogs.
Please note: In the illustration Step 4 is confusing. After replacing the pin, so the end pierces the outside strand of the loop, I turned the frog over so I could attach it on the right side of the 2-coil piece. If you apply it to the left of the 2-coil piece, you don't have to turn it over in step 4. We learn with experience.
That's all folks. Back now to finish those frogs.


No comments:
Post a Comment